
Framing basement wall might sound intimidating, but fear not. I’m here to guide you through the process step by step, in plain and simple terms. So, grab your toolkit and a can-do attitude, because by the end of this post, you’ll be ready to tackle this project with confidence.
Hey there, DIY enthusiasts! If you’re like me, you love turning unused spaces in your home into something functional and fabulous. One area that often gets overlooked is the basement. It’s like the hidden gem of your home, just waiting to be transformed. And what’s the first step to turning your basement into a cozy, well-organized space? Framing those walls, of course!
Table of Contents
Why Framing Basement Wall?
Although framing your basement walls may not be the most glamorous DIY project, it is a necessary first step in making a room in your house that is useful, cozy, and pleasant to the eye. Here’s why you should consider framing your basement walls:
- Insulation and Energy Efficiency: Framing allows you to add insulation between the studs. Your basement will be warmer in the winter and cooler in the summer thanks to this insulation’s assistance in controlling the temperature. Over time, it may result in significant energy savings, which will lower your heating and cooling expenses.
- Moisture Control: Basements are notorious for being damp and prone to moisture issues. By using the proper materials and methods while framing your walls, you may assist in creating a moisture barrier that will stop water from penetrating into your living area. In order to stop the growth of mold and mildew, which can be dangerous to your health, moisture regulation is essential.
- Soundproofing: If you’re planning to use your basement for activities like watching movies, playing music, or even as a home office, framing your walls allows you to add soundproofing materials. This can help keep noise from traveling throughout your home and provide a more peaceful environment.
- Versatile Space: Once your basement walls are framed, you have a blank canvas to work with. Whether you want a comfortable family room, a roomy home gym, a useful laundry area, or a combination of these and other uses, you may adapt the space to meet your needs.
Now that we’re clear on why framing is essential, let’s get started on the fun part – the DIY process!
Material You’ll need:

When it comes to framing basement wall, you’ll need a specific set of materials to ensure a sturdy and efficient construction process. Here’s a list of the essential materials required:
- Studs: These are typically 2×4 or 2×3 wooden boards that form the vertical framework of the wall. The choice between 2×4 or 2×3 depends on your space and local building codes.
- Pressure-Treated Sill Plate: This horizontal board runs along the bottom of the wall and serves as the foundation for your wall. It’s essential to use pressure-treated lumber to prevent moisture damage.
- Anchor Bolts: These are used to secure the sill plate to the concrete floor, ensuring stability and preventing shifting.
- Hammer Drill: You’ll need this tool to drill holes into the concrete floor for the anchor bolts.
- Circular Saw: A circular saw is used for cutting the studs and other framing components to the required lengths.
- Level: A level ensures that your walls are plumb (vertical) and level (horizontal), providing a stable and straight structure.
- Measuring Tape: Accurate measurements are crucial in framing to ensure the components fit together correctly.
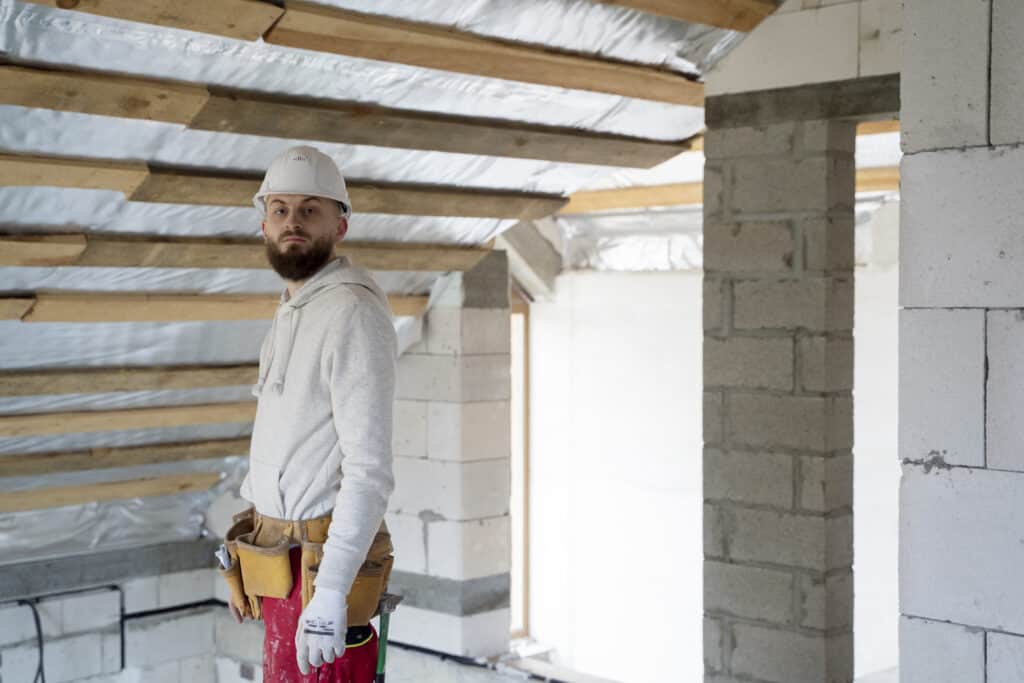
- Safety Gear: Safety glasses and ear protection are essential for protecting your eyes and ears during construction.
- Nails or Screws: These fasteners are used to secure the studs and other framing elements together. The choice between nails and screws depends on your preference and local building codes.
- Construction Adhesive: This adhesive is applied between the pressure-treated sill plate and the concrete floor to enhance stability and create a moisture barrier.
Now that you’ve got your tools and materials ready, let’s roll up our sleeves and start framing that basement wall!
Steps to Framing Basement Wall:
Step 1: Plan Your Wall Layout
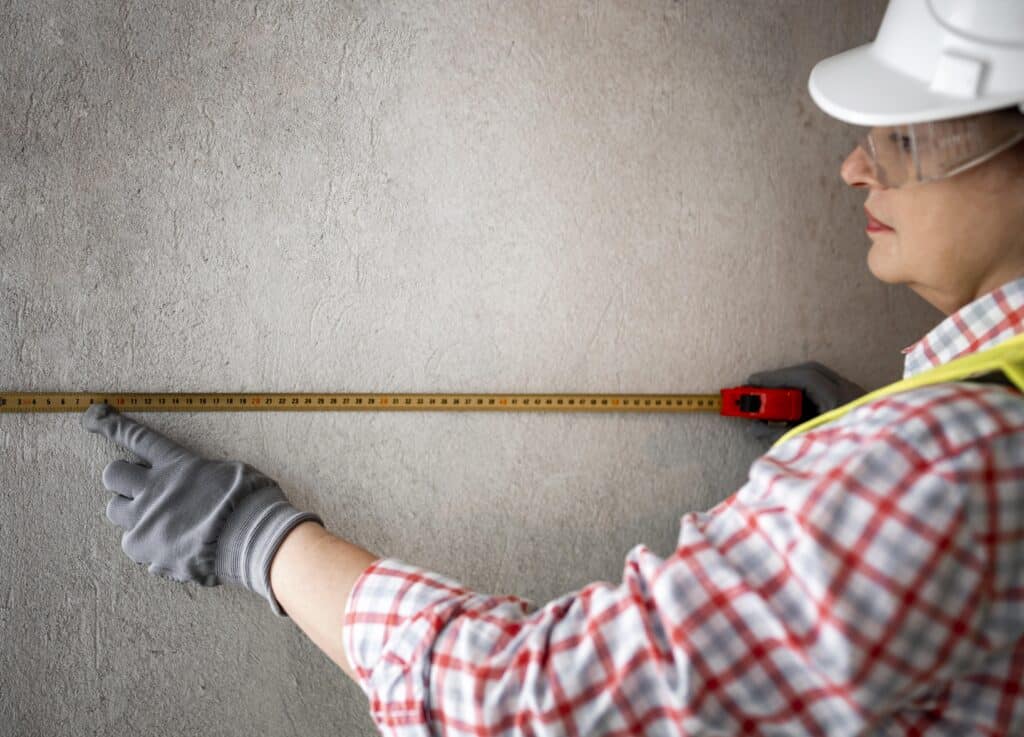
You wouldn’t start a road trip without a map, right? Well, the same goes for framing basement wall. Start by measuring your wall’s length and height. Plan where you want to place your studs, usually 16 inches apart for standard framing.
Step 2: Secure the Sill Plate
Place the pressure-treated sill plate along the bottom of the wall. Make sure it’s level and secure it to the concrete floor using anchor bolts and construction adhesive. This plate is your wall’s sturdy foundation, so take your time with this step.
Step 3: Cut and Install the Studs
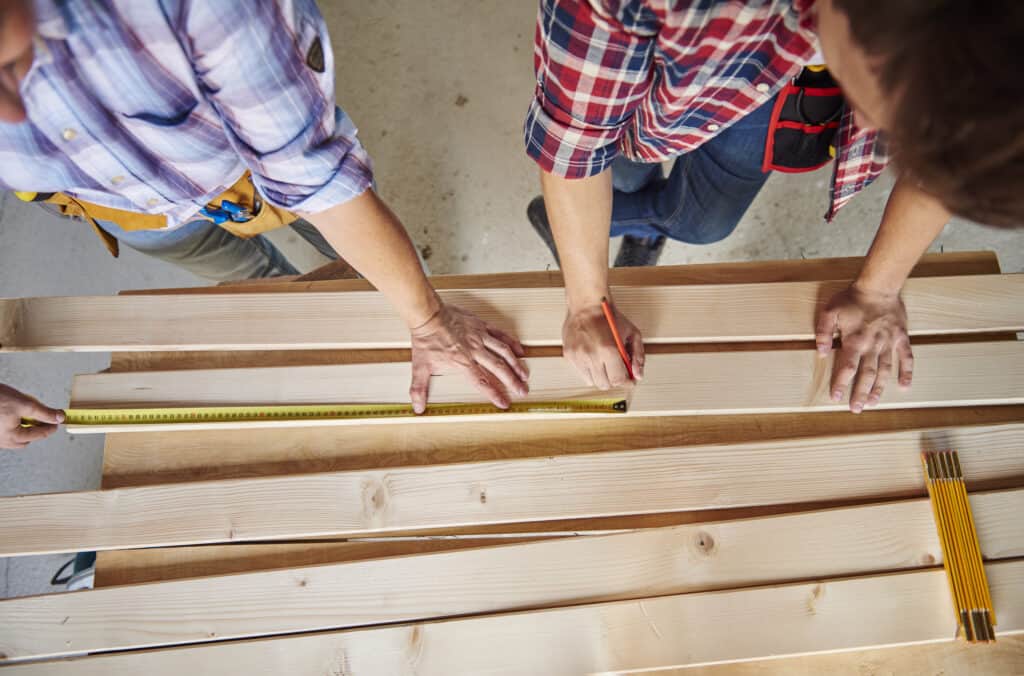
Measure and cut your studs to the right length using a circular saw. Stand them upright and secure them to the sill plate and top plate, leaving 16-inch gaps between each one. Use a level to ensure they’re plumb and straight.
Step 4: Add Cross Bracing
For extra stability, consider adding cross-bracing between your studs. This is especially important if your basement walls are quite tall. Simply cut your bracing pieces at a 45-degree angle and attach them with screws or nails.
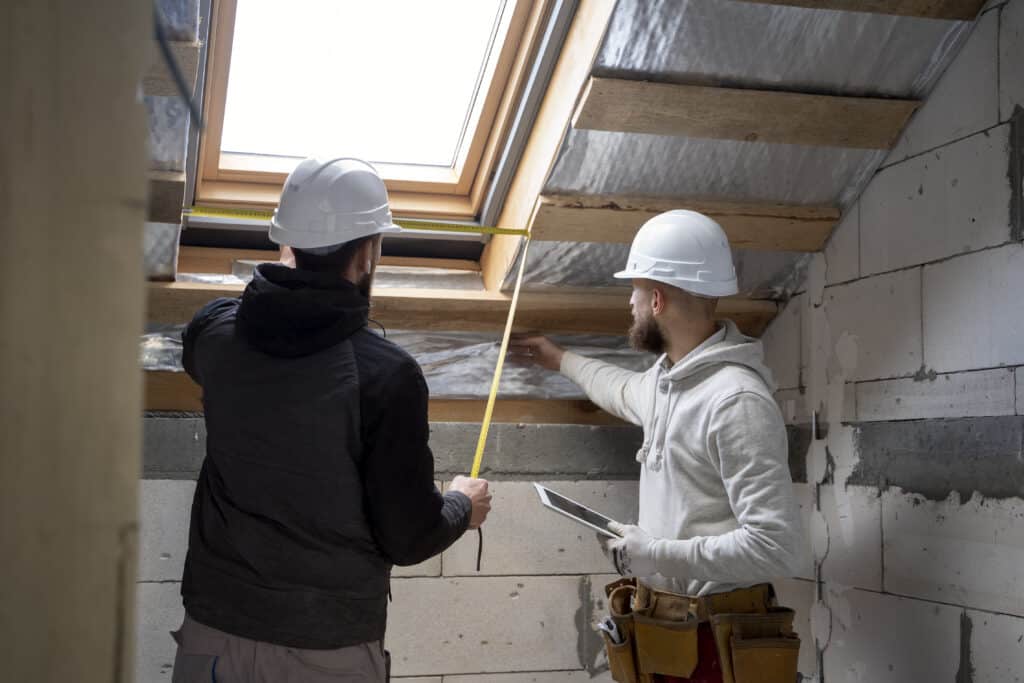
Step 5: Frame Around Obstacles
Basements often have pipes, ducts, or other obstacles. To frame around these, measure the dimensions of the obstacle and cut your studs accordingly. Remember, precision is key here!
Step 6: Insulate Your Wall
If you’re looking to make your basement cozier and more energy-efficient, now’s the time to add insulation between the studs. Use insulation designed for basements and secure it in place.
Step 7: Install Drywall
With your wall framed and insulated, it’s time to hang the drywall. You can attach it to the studs using screws or nails. Don’t forget to leave space for outlets and switches!
Step 8: Finish and Decorate
Once the drywall is up, you can finish it with joint compound, sand it smooth, and paint it to your heart’s content. Add some baseboards, trim, and your personal touch to transform your basement into a space you’ll love.
Tips for Success:
- Take your time with measurements and leveling; accuracy is crucial.
- Use safety gear to protect yourself during the project.
- Check local building codes and permits before starting.
- Enlist a friend or family member to help with larger walls.
- Consider adding electrical outlets and lighting during the framing process.
Conclusion:
Framing basement wall may seem like a daunting task, but it’s a rewarding DIY project that can completely transform your space. With the right tools, materials, and a bit of patience, you’ll have a beautifully framed basement wall ready for whatever you want to turn your space into.
Remember, this is just the beginning of your basement transformation journey. Once those walls are framed, the possibilities are endless – a cozy family room, a home gym, a vibrant office, or even a fantastic home theater.
So, don’t let your basement gather dust any longer. Grab your toolkit, follow these steps, and turn that neglected space into something truly amazing. You’ve got this, DIY champion! Happy framing!
Frequently Asked Questions:
- How far should studs be from basement wall?
Make sure there is at least a 1/2″ gap between the foundation wall and the studs. A wood wall should not come into direct touch with concrete. Your top and bottom plates have to line up exactly. Place the vertical board that you have cut into studs into the top and bottom plates.
- What do you need to frame a basement?
Dimensional lumber, 2x4s or 2x6s, screws and nails, plasterboard screws, joint compound, plasterboard tape, a utility knife, a hammer or nail gun, insulation, plastic vapour barriers, a handheld saw (keyhole saw) and a portable air compressor are the supplies you’ll need to frame your basement walls.
- What is the best type of wall for a basement?
Concrete is usually chosen when building a basement because it is more durable than alternative materials for basement walls. Poured concrete is used to build the footings and foundation of a basement, and steel bars are added for reinforcement and added structure.

Pingback: The Ultimate Guide to Temporary Basement Walls -